
Medpaid gateway setup in Checkout Champ
Setup process
Open the Medpaid gateway integration
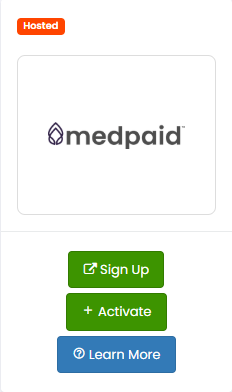
In Checkout Champ CRM, go to Gateways > Gateway Integrations and select the Medpaid tile. If you're already a Medpaid customer, click Activate, then continue to Step 2. If not, click Sign Up and follow the onboarding steps — once onboarding is complete the Medpaid gateway is created automatically, so you can skip ahead to Step 3.
Enter your credentials
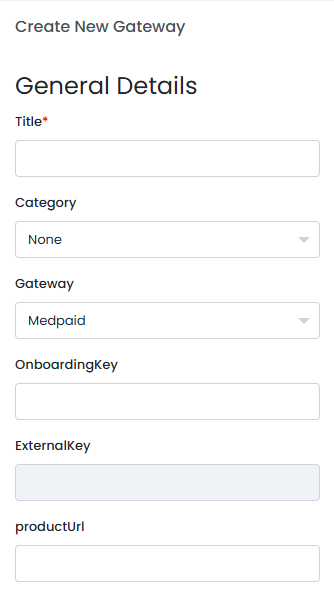
Enter a Title and Category of your choosing. In the General Details section, enter the OnboardingKey from your Medpaid account — ExternalKey is assigned automatically by Checkout Champ and isn't something you edit. Set productUrl to a campaign URL pointing to your most complete campaign — this is the landing page Medpaid's own marketing will refer customers to. Then click Create Gateway to save.
Mark products as HSA/FSA eligible
HSA/FSA products must be approved by Medpaid before they qualify. In CRM > Products, edit each product that could be eligible and set:
MedpaidAdd a clear Description for Medpaid's medical providers to evaluate, then save — repeat for every eligible product.
Sync products with Medpaid for review
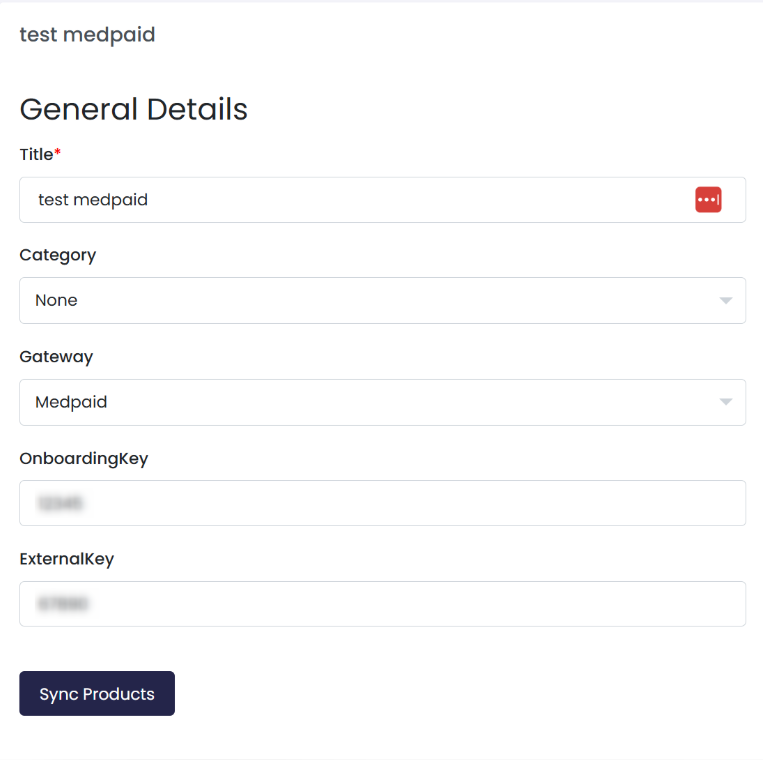
Edit the gateway from Step 2 and click Sync Products to send your marked products to Medpaid for review.
Review takes some time; approved products receive an hsa_fsa_eligible tag (which can't be removed) and automatically show an hsa_fsa_eligible badge in the shopping cart. If a product is denied, its Client ID is cleared — re-enter Medpaid in the Client ID field to resubmit it.
Direct API integration (Direct API pages only)
This step applies only to a Direct API integration — skip it if you use Checkout Champ hosted pages. The checkout page must use HTTPS; a non-secure call to the Medpaid gateway is rejected. Pass paySource=PREPAID and prepaidType=MEDPAID on the import order API call from your checkout page. One option is hidden input fields:
<input type="hidden" name='paySource' value="PREPAID">
<input type='hidden' name='prepaidType' value='MEDPAID'>
The checkout page must also handle standard 3DS processing per Checkout Champ's Direct API 3DS instructions.
Hosted pages (Hosted pages only)
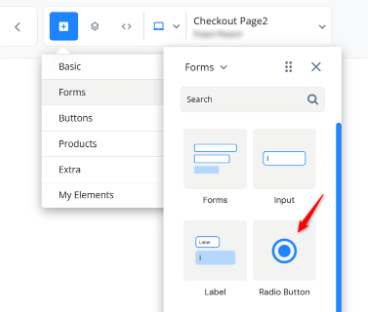
Approved products automatically display an hsa_fsa_eligible badge in the shopping cart. To enable Medpaid as a payment option, add a radio button on the checkout page: in the page builder, drag a Radio Button element from Blocks > Forms onto your checkout page.
Select the radio button and edit its settings:
payment_methodMEDPAID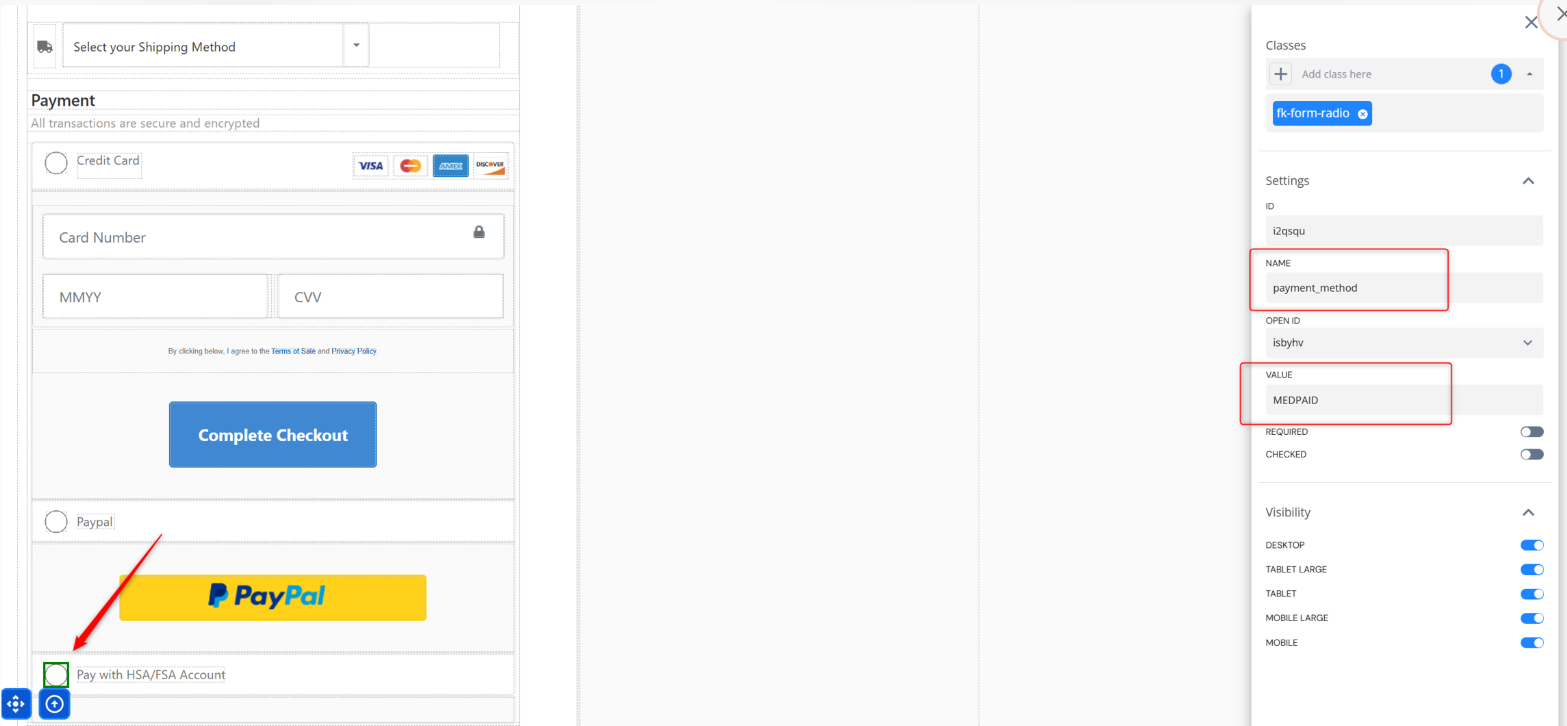
This can also be used with a payment toggler instead of a plain radio button:
fk-payment-option-togglerMEDPAID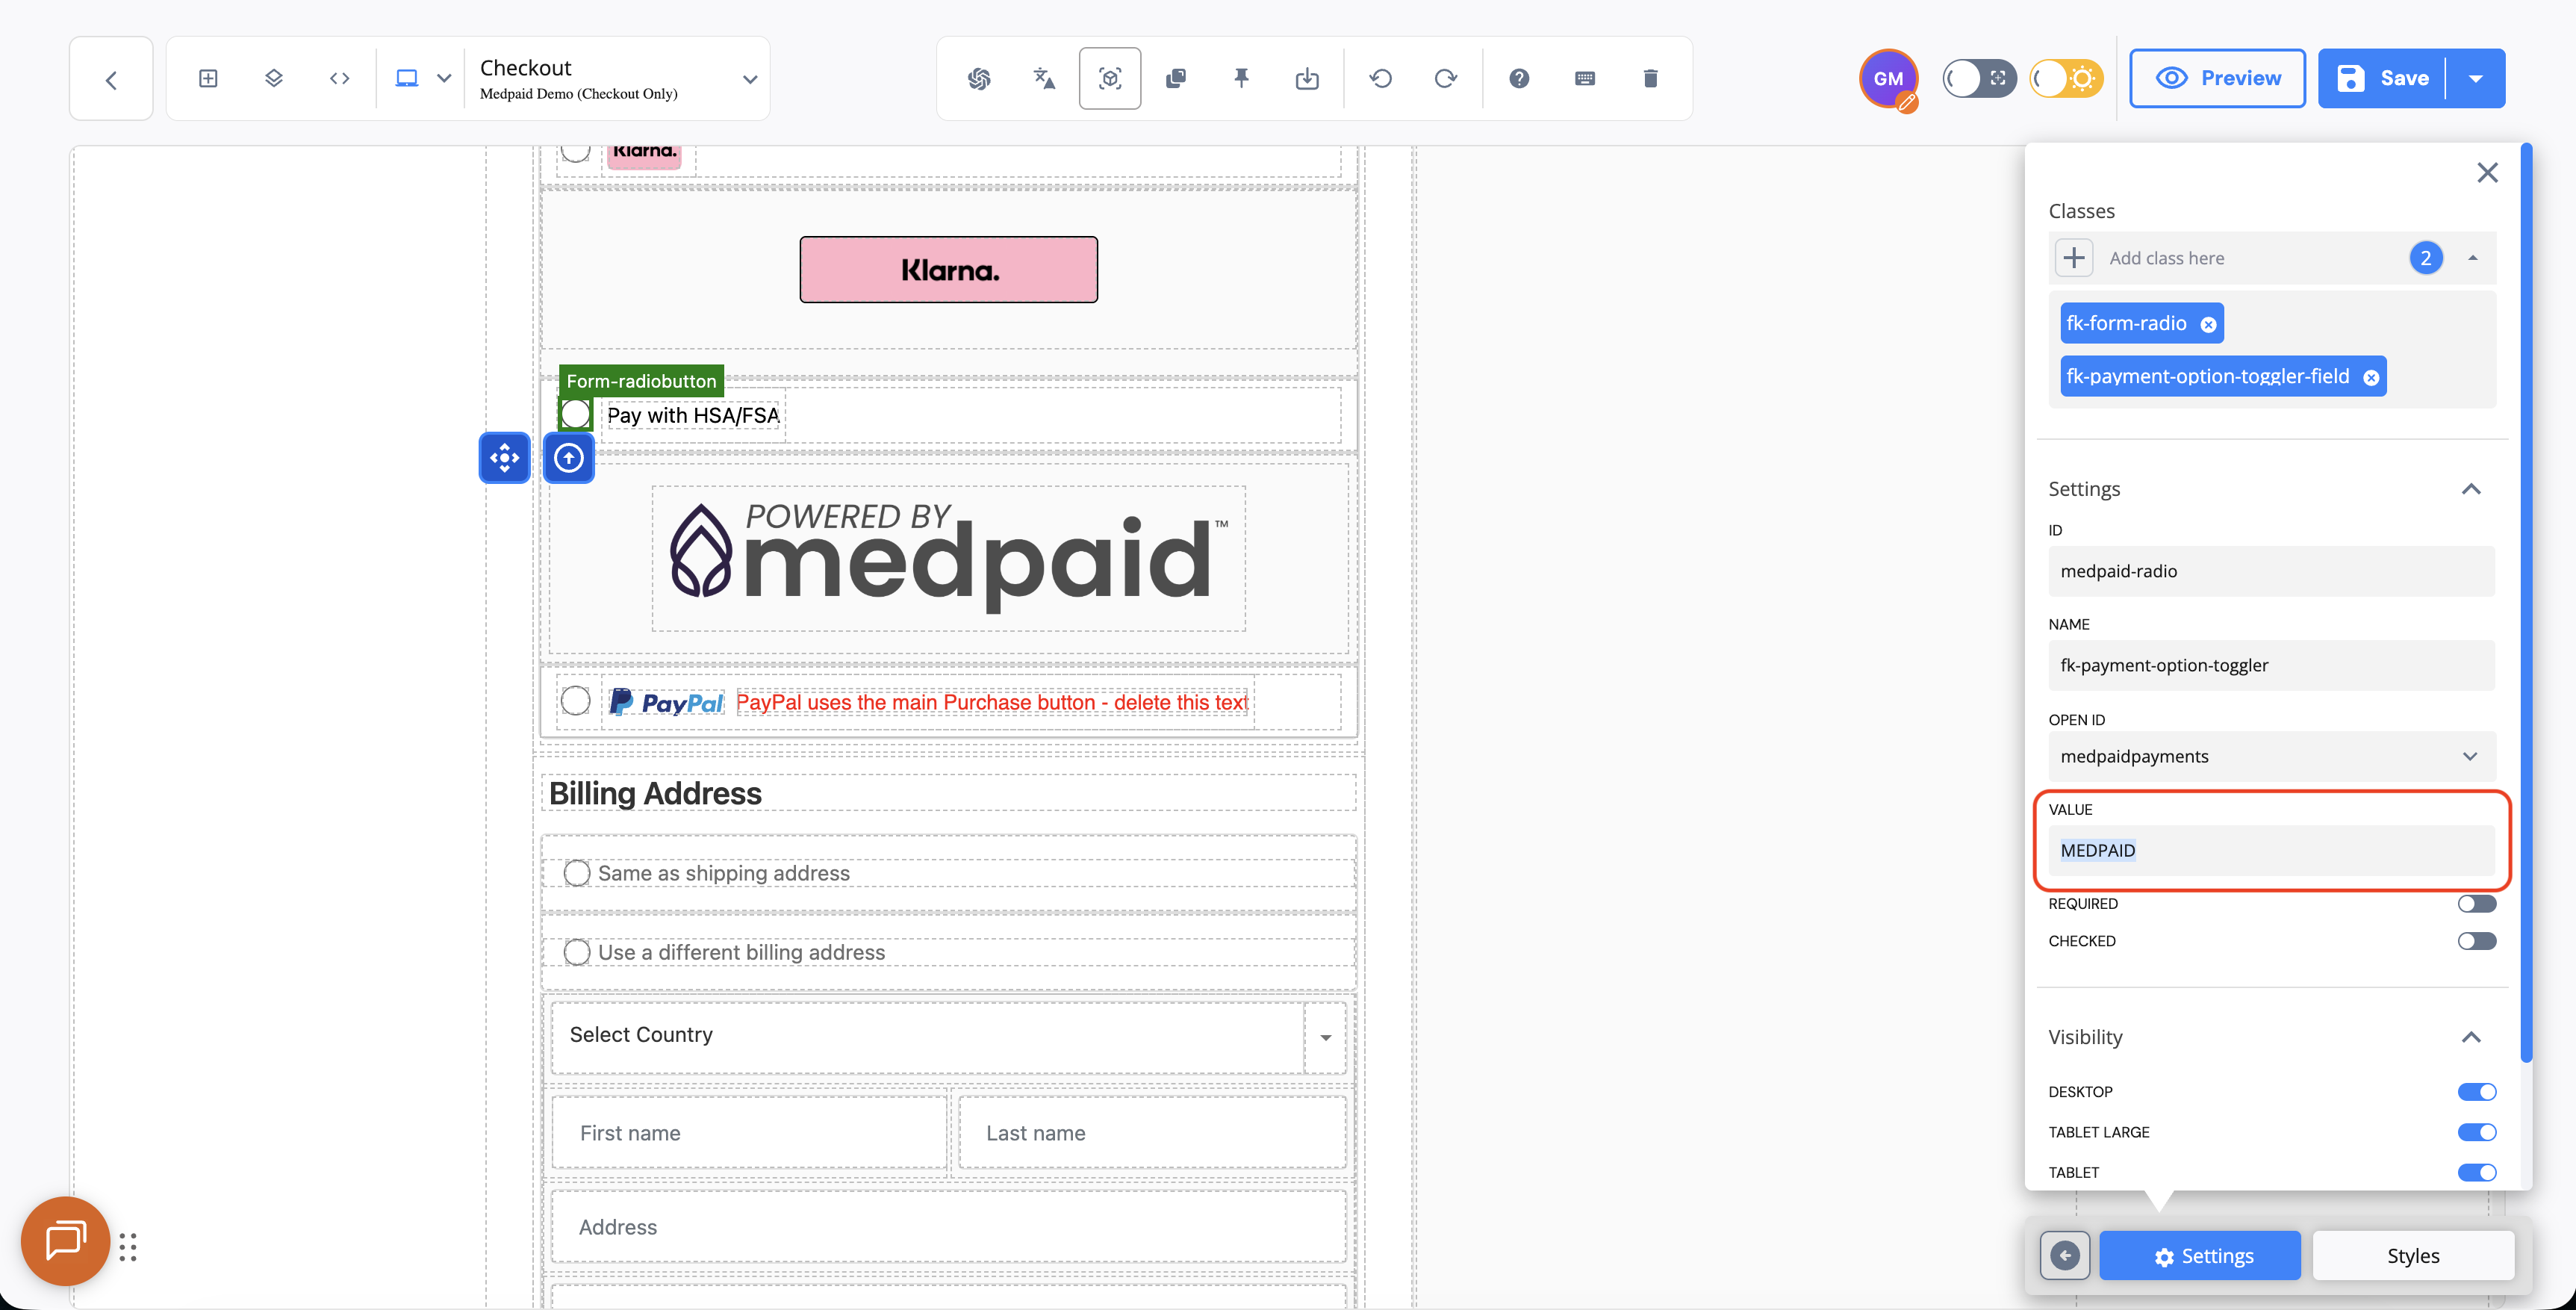
Save the page, exit the page builder, and publish. The radio button is automatically disabled on a live page if no approved products are in the shopping cart.
Know the platform behavior
Medpaid requires that at least one product in the order is HSA/FSA eligible (approved). Medpaid supports rebills. Medpaid can also process split payments between eligible and ineligible products in the same order — Checkout Champ's order system does not record if a payment was split between HSA/FSA cards and regular credit/debit cards; it's visible in Medpaid only.